Treating Paper with Adrienne Arvidson and Moira Mudie - February 10th, 2007
Have you ever finished a painting and then wished that you had thought more about the background? A vibrant background can make a difference between a good painting and a compelling one that captures viewers' interest. Adrienne Arvidson led workshop participants on an innovative approach to creating this kind of dynamic background by treating paper. Moira Mudie completed the workshop by showing us how to create effective paintings that optimize these backgrounds.
This workshop required some special items in addition to our painting gear:
- Newspapers
- A plastic sheet
- Hake brush (the hake brush is the wide brush)
- A roll of saran wrap
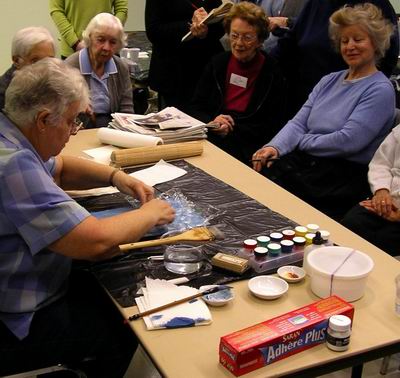
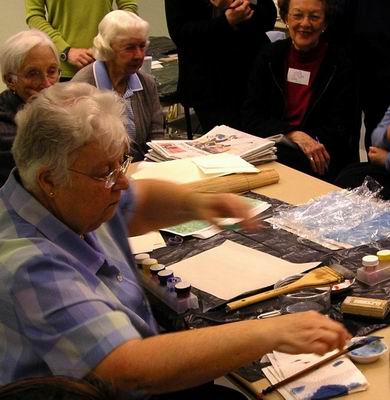
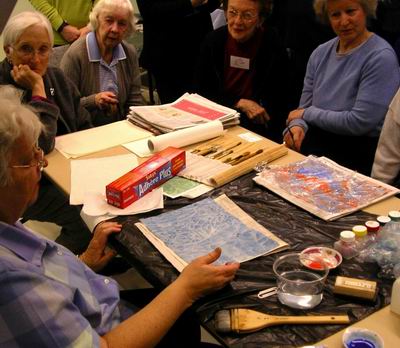
Adrienne Arvidson began by showing us the special non-absorbent paper we would use.
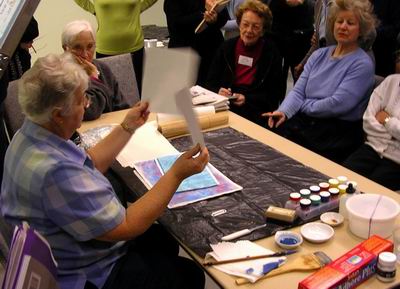
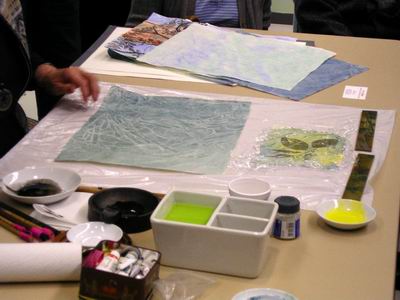
Some samples of treated paper were presented. They had a random set of lines and were in single and multiple colours.
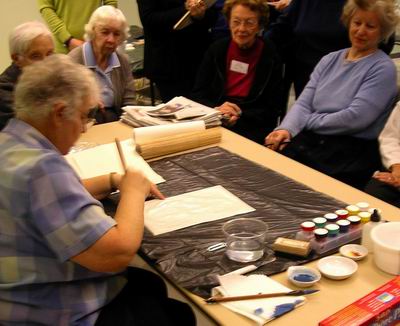
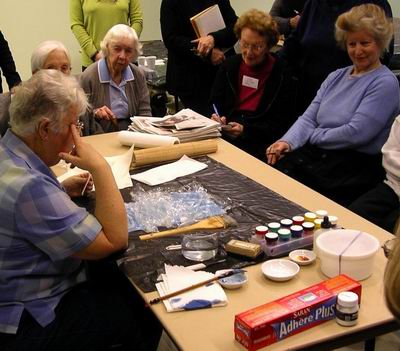
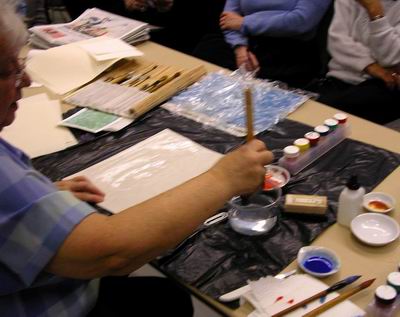
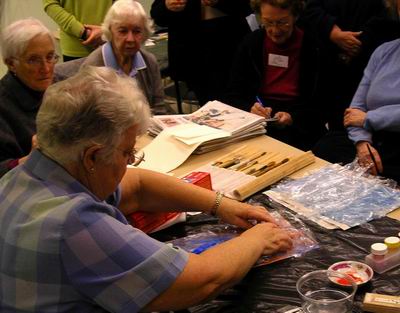
Adrienne Arvidson then set about using the hake brush to wet the papers.
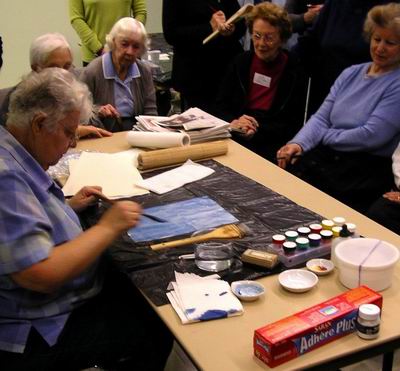
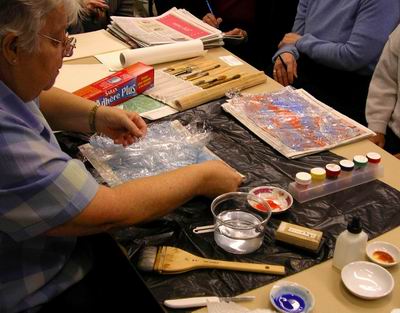
After the non-absorbent paper has been wet, some paper towels will sometimes be used to take up any extra water. The colour is then added in a similar way to adding a wash to a painting.
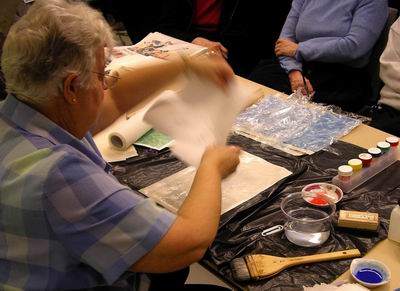
Then comes the saran wrap. The more scrunched the saran wrap, the more lines will appear. It is the saran wrap that absorbs the colour not the paper.
The completed treated paper occurs when the saran wrap covers the paper. It is then set aside to dry, which takes about an hour.
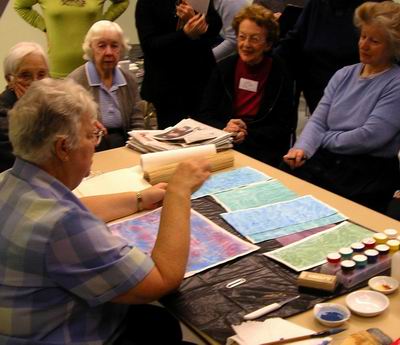
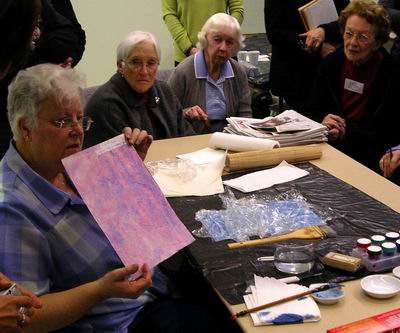
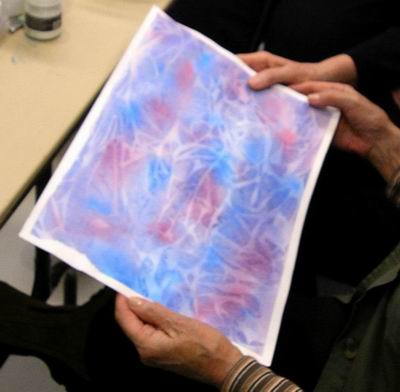
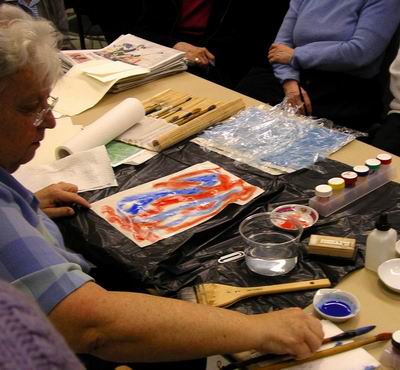
The demonstration used one colour, blue, but Adrienne showed us the same type of effect with two colours.
This close-up picture illustrates the vibrant effect of the technique with two colours.
Naturally, workshop participants asked if the two-colour technique could be shown too. Adrienne volunteered to also demonstrate treating paper with two colours.
Wetting the paper again with the hake brush is the start.
Then Adrienne Arvidson used some paper towels to soak up some extra water.
Treating paper with two colours begins with a random application of the first colour.
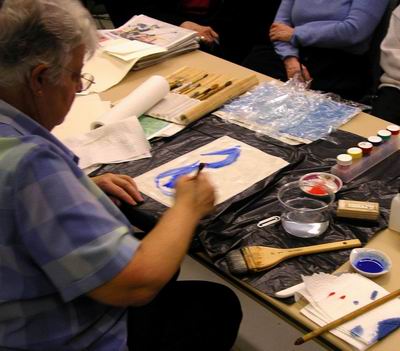
The second colour is then added to the non-absorbent paper in a complementary fashion.
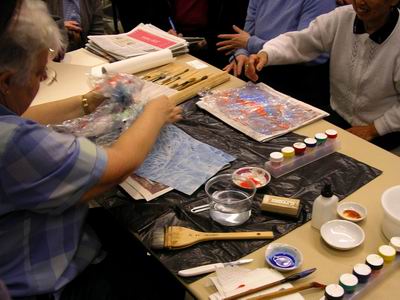
Saran wrap completes the process once more.
At this point, Adrienne pushed the two-colour treated paper aside to dry and returned to her first sample to demonstrate the effect.
As the saran wrap came off, the treated paper revealed a fascinating pattern of lines.
Adrienne explained how the scrunched saran wrap created the effect. As you become familiar with the technique, you learn how to control the effect better.
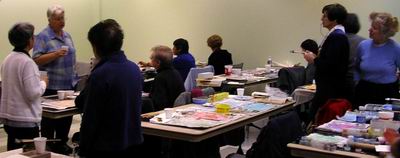
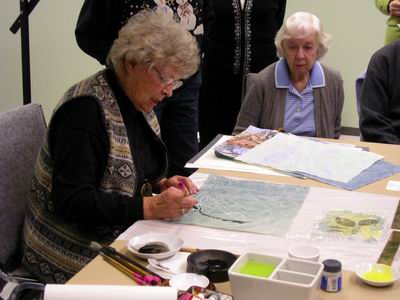
Workshop participants then tried their hand at treating paper as Adrienne Arvidson helped us one-on-one.
The second part of the workshop conducted by Moira Mudie demonstrated how to use the treated paper to create memorable paintings such as this one where birds and branches were added to an underlying pattern.
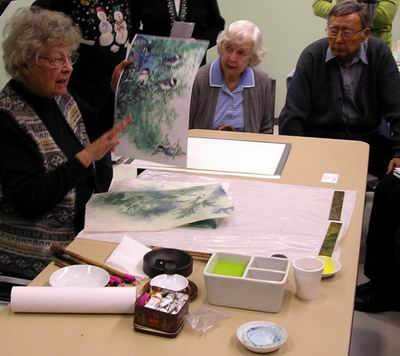
In another painting, Moira showed how wisteria and vines could be offset by a background of treated paper.
Moira examined the treated paper to decide what type of painting would best be suited for it. There is no rule. It is similar to Moira's previous abstract landscape workshop: look at the pattern and think of how to build a painting that works effectively with the effect.
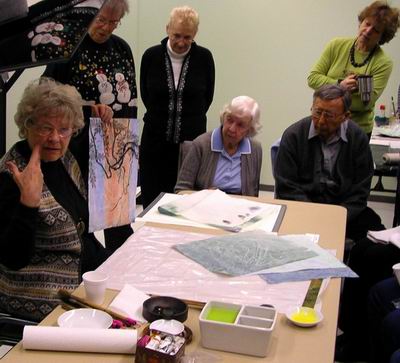
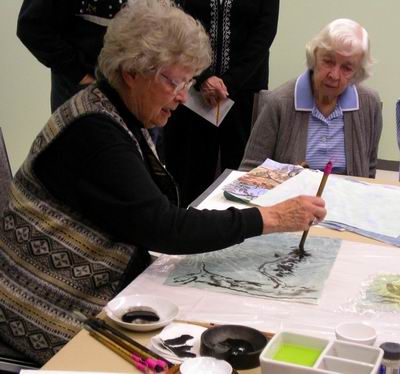
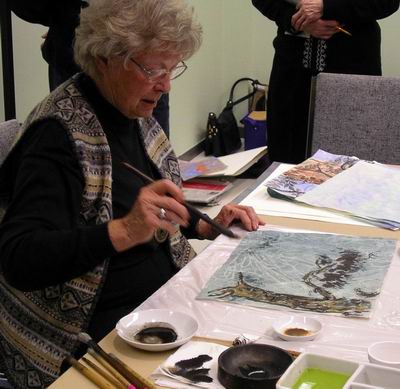
Moira Mudie began with a line of sumi-e ink following a line in the treated paper.
This line developed into a tree trunk and then branches and leaves.
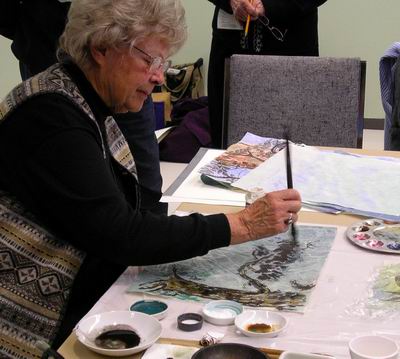
Moira continued to add details in black sumi-e ink with a fine brush, always working with the pattern in the treated paper.
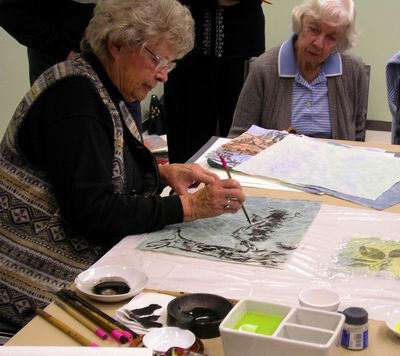
Burnt sienna created bark for the tree and provided an effective contrast to the paper.
Moira returned to completing the work with details on the tree that complemented the background pattern. The pattern in this case could be viewed as a type of forest or rock, either one giving an effective setting to the tree.
The workshop ended with us heading home with our dried treated paper to work on our own paintings with this creative background.